


UV lashes are a revolutionary technique for applying eyelash extensions. They utilize UV light to cure the adhesive, resulting in firmer and longer-lasting lash extensions. Here’s how it works:
Curing with UV Light:
-
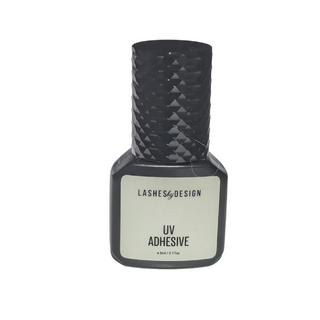
- The adhesive used for UV lashes is not a traditional adhesive. It has less cyanacrolate than regular adhesive and will not dry out during the application of lash extensions. It has a photosensitive agent that cures it after 2 seconds of exposure to the light. Apply the lash with adhesive, then simply tap the foot pedal for 2 seconds.
- This polymer will not cure until it’s exposed to UV light.
- The UV light wavelengths cause a photochemical reaction, changing the polymer’s chemical properties.
- As a result, the polymers cure instantly, making it easier to lash the next lash.
Safety Tips:
- DO NOT USE on any clients that have allergies to the sun
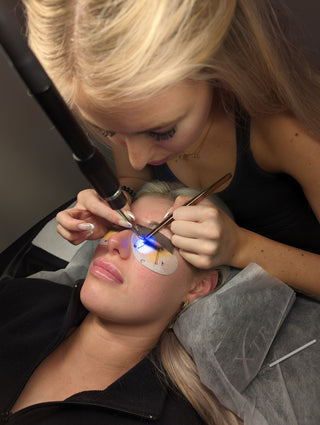
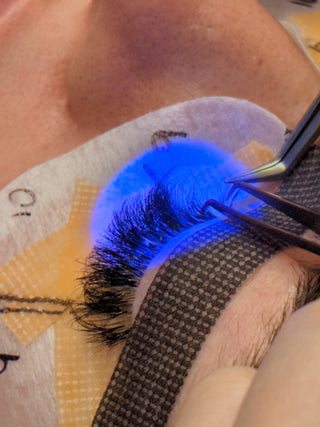
- Total exposure time for a full set is 5 minutes, with a very low strength light.
- The light is significantly less than Nail Lamps and all areas of the skin are covered with protective material
- There’s no evidence that UV lash glue is harmful but follow standard precautions
- ALWAYS use black out foam tape to protect the skin on the eyelid
- Use Cream or Gel removers for lash removal.
- Ensure the glue only goes where intended before turning on the UV lamp.
- Maintain a safe distance from the lamp and wear UV safety glasses.
- Easily removable using a standard remover
- Outgrown lashes can be removed as usual with tweezers
- Up to 8 out of 10 previous allergy sufferers no longer experience reactions